


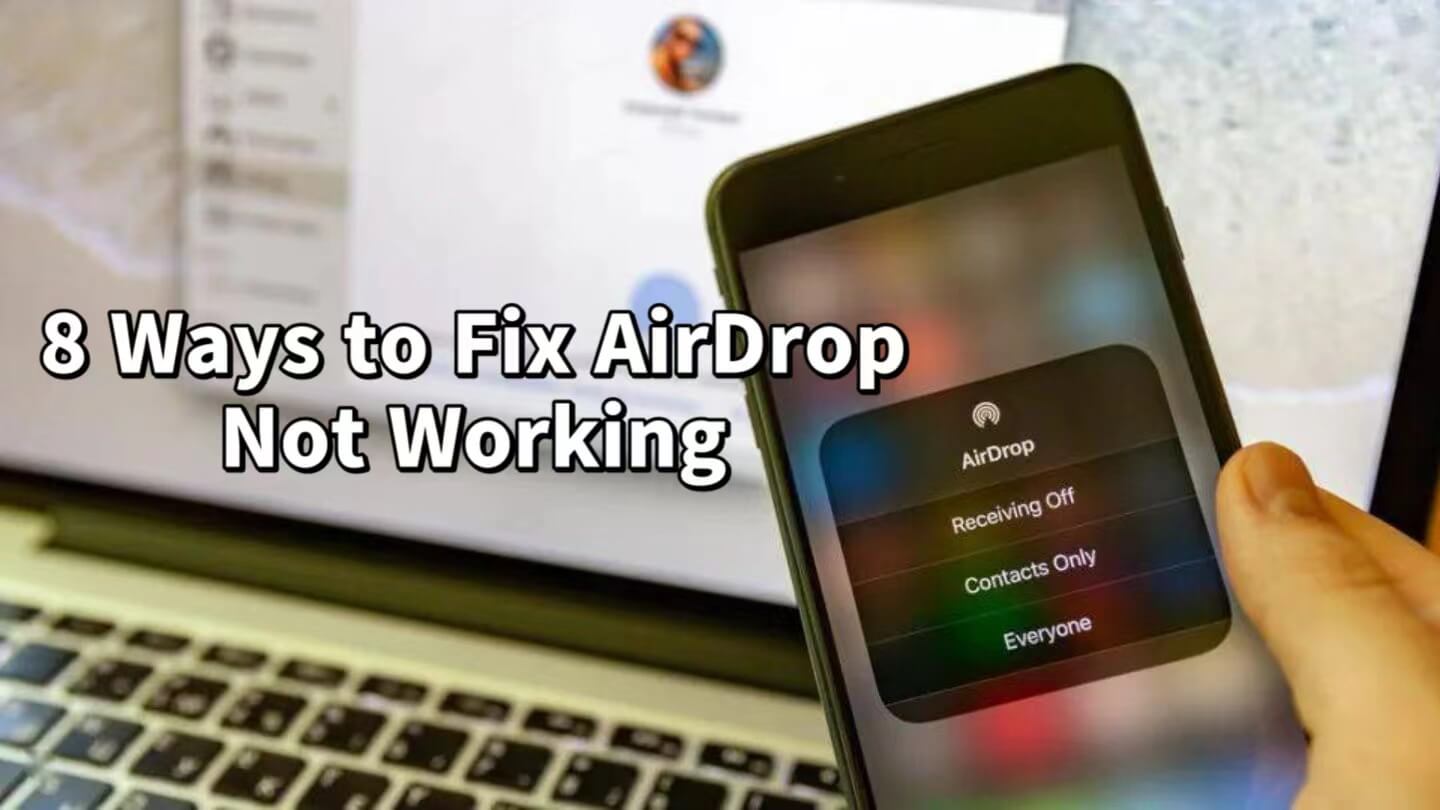
AirDrop is a convenient feature that allows Apple device users to share files wirelessly over Bluetooth and Wi-Fi with ease. However, sometimes users may encounter interlaced delivery failures, such as AirDrop transfer failure, AirDrop can't find the device, and the transfer is rejected.
OTOFLY will walk you through 8 methods to resolve AirDrop isolation issues.
1. Check Your Device Supports AirDrop
First, make sure your device supports the AirDrop feature. Generally, AirDrop is supported on iPhones, iPads, and iPod touches running iOS 7 or later, as well as Macs running OS X Yosemite or later. In addition, check to see if your device has AirDrop enabled:
- For iOS devices: Access the Control Center and tap on AirDrop, then select "Everyone" or "Contacts Only".
- For Macs: Open Finder, click on "Go" in the menu bar, then select "AirDrop," and ensure "Allow me to be discovered by" is set to "Everyone" or "Contacts Only".
2. Toggle Wi-Fi and Bluetooth
AirDrop transmission needs to go through Wi-Fi and Bluetooth, so you need to confirm whether Wi-Fi and Bluetooth are turned on. The most common situation is that Bluetooth is forgotten to be turned on, which causes AirDrop failed.
- On iOS devices: Go to Settings, make sure Bluetoothand Wi-Fi are both turned on.
- On Mac: Click the Wi-Fi and Bluetooth icons at the top of the screen and make sure they are both activated.

3. Make Sure Your iPhone or iPad is Unlocked
When transferring AirDrop files, the iPhone, iPad or Mac receiving AirDrop must be awake. If the device is locked, AirDrop will not be able to find the device.
4. Turn off Do Not Disturb Mode
Do Not Disturb mode may prevent AirDrop from receiving files. Make sure this mode is disabled on both devices:
- On iOS devices: Open Control Center and check that the moon icon is not highlighted.
- On Mac: Go to System Preferences > Notifications > Do Not Disturb and make sure it's not activated.
5. Restart Your Device
When AirDrop fails, the transfer is rejected, or the device cannot be found, a reboot can solve the problem. Generally, restarting the iPhone, iPad, or Mac that you want to receive the AirDrop file will allow AirDrop to be successfully transferred.
6. Open "Use Mobile Data"
Since iOS 17, AirDrop can automatically change to mobile data transmission when it disconnects in the middle of the transmission, so if your AirDrop transmission fails due to the long distance, you can do as follows:
- Open Settings on your iPhone or iPad.
- Tap General.
- Tap AirDrop.
- Under "Out of Range," toggle on the switch next to Use Mobile Data.

7. Bring the Devices Closer to Each Other
Also starting from iOS 17, you can AirDrop between iPhones when they are close to each other, but if you often encounter AirDrop failures in this way, you can solve by re-enabling the "Bringing Devices Together".
- Open the Settings app.
- Tap General > AirDrop.
- Turn onBringing Devices Together.
8. Reset Network Settings
If none of the above steps have resolved the issue, you can try resetting your network settings. This will clear all network-related settings, including Wi-Fi passwords and VPN configurations, but don't worry because it won't remove your phone data.
- On iOS devices: Go to Settings > General > Reset > Reset Network Settings.
- On Mac: Go to System Preferences > Network, then remove all network services and re-add them.
Airdrop is a very convenient feature, but there are occasional technical glitches. Most common AirDrop issues can be resolved by following the steps above. If the problem persists, try using third-party software as an alternative or seek official Apple support.
