


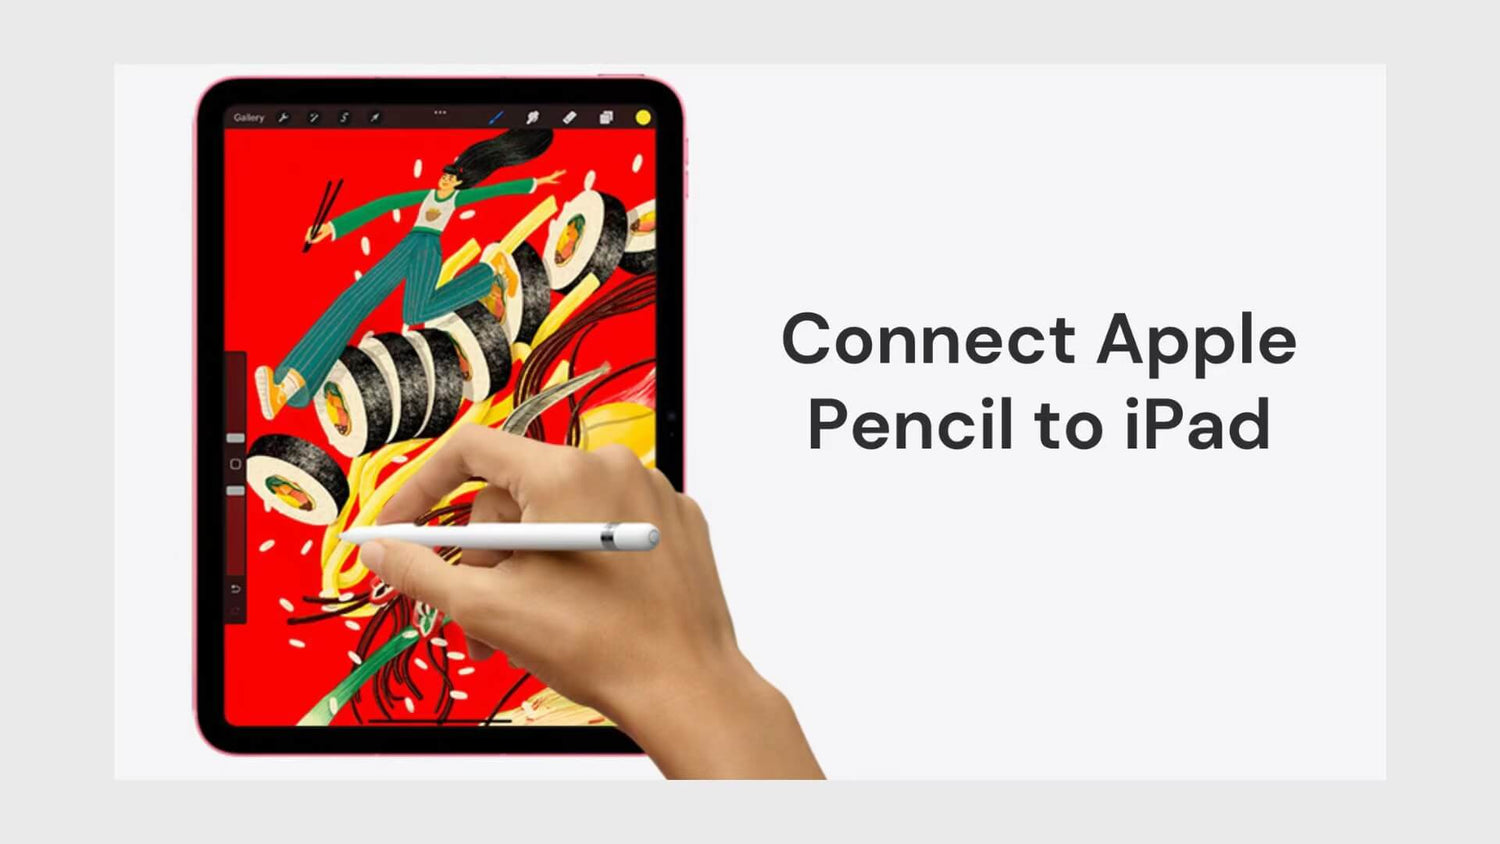
Whether it's an artist drawing, a designer sketching, or a student taking notes, Apple Pencil provides unparalleled precision and fluidity. This article will detail how to connect Apple Pencil to iPad to ensure you can get the most out of this powerful accessory.
Step 1: Learn about Apple Pencil
Before you start connecting, you first need to understand the four versions of Apple Pencil:


Step 2: Preparatory work
Before connecting your Apple Pencil, make sure the following preparations are complete:
General Tips:
- Check Compatibility:
Make sure your iPad model is compatible with the Apple Pencil. You can check this on Apple's website or in the iPad's technical specifications.
- Update Software:
Ensure your iPad is running the latest version of iPadOS for the best compatibility.
- Check Battery Level:
Fully charge your Apple Pencil to ensure a smooth connection process. You can see the battery level of your Apple Pencil in the iPad's battery widget or in the "Today View" section of the Notification Center.
Step 3: Connect your Apple Pencil

Connecting an Apple Pencil to an iPad is straightforward. Here's how you can do it:
For Apple Pencil (1st generation):
- Ensure Bluetooth is Enabled: On your iPad, go to "Settings" > "Bluetooth" and make sure it's turned on.
- Charge Apple Pencil: Connect the Lightning connector of your Apple Pencil to your iPad's Lightning port.
- Tap to Connect: Once the Apple Pencil is connected to your iPad, it should appear in the list of Bluetooth devices. Tap on the Apple Pencil to connect it.
- Pairing Successful: A pop-up will confirm that your Apple Pencil has been connected.
For Apple Pencil (2nd generation):
- Enable Bluetooth: As with the 1st generation, ensure Bluetooth is enabled on your iPad.
- Attach the Apple Pencil to Your iPad: Bring the magnetic end of the Apple Pencil close to the magnetic area on the side of the iPad Pro. The iPad will automatically recognize the Apple Pencil.
- Follow the On-Screen Instructions: A pop-up will appear on your iPad with instructions to complete the pairing process.
- Sign In with Your Apple ID: If prompted, sign in with your Apple ID to confirm the connection.
For Apple Pencil (USB-C):
- Slide open the end of your Apple Pencil, attach a USB-C cable into the port, and plug the other end of the cable into your iPad.
- A notification will appear on your screen indicating Apple Pencil is connected.
- Then just disconnect the cable from your Apple Pencil, and it is ready to use.
For Apple Pencil Pro:
- Just attach it to the magnetic connector on the side of your iPad.
- Once an image of your Apple Pencil appears on the screen, it’s paired and will begin charging.
- When you’re ready to use your Apple Pencil, just remove it from your iPad.
By following above steps, you should be able to connect your Apple Pencil to your iPad successfully. If you encounter any issues, refer to Apple's support documentation or contact Apple Support for further assistance.
Apple Pencil is a powerful tool that can greatly enhance your iPad experience. With the guide in OTOFLY, you should be able to connect and use your Apple Pencil with ease.