Screen recording on iPhone is a very useful feature, especially when you need to record a game or capture some important information. The following is a detailed guide on how to screen record on iPhone, along with some additional tips and considerations.
Welcome to share your experience with this guide in OTOFLY comments section.
Enable Screen Recording
Make sure your iPhone has been updated to iOS 11 or later, as the screen recording feature is available since iOS 11, as well as your iPhone needs to have enough storage space to save the recorded video.
How to Screen Record on iPhone
To screen record on your iPhone, you can follow these steps:
Step 1: Customize Control Center
- Go to Settings > Control Center > Customize Controls.
- Tap the "+" icon next to Screen Recording.
- Screen Recordingwill appear in the Control Center.

Step 2: Start Screen Recording
- Open the Control Center: On iPhone X or later, swipe down from the top-right corner of the screen. On iPhone 8 or earlier, swipe up from the bottom of the screen.
- In the Control Center, you should see a Screen Recording button (it looks like a circle with a dot inside).
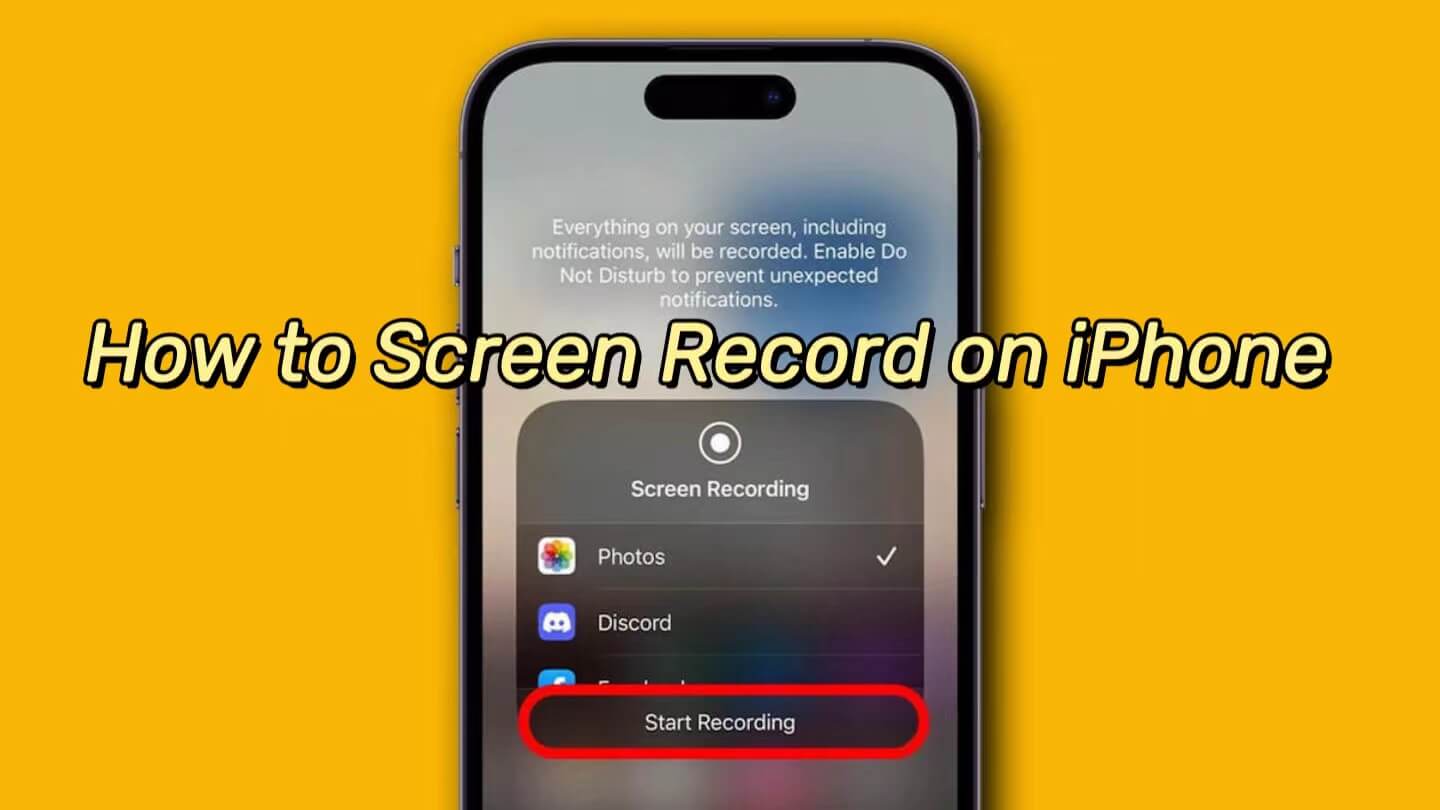
- Tap the Screen Recording button, and you will see a countdown (3, 2, 1) before the recording starts.
After the countdown ends, the screen recording will start automatically. At this time, a red recording indicator will appear in the top left corner of the screen.
Perform the actions you want to record. The screen recording will capture all your screen activities, including touch operations and sounds (if you have microphone recording turned on).

Step 3: Stop Recording
- To stop recording, tap the Screen Recording button at the top of your screen.
- Then tap the Stop button.
- Or open Control Center and tap the red Record button.
Step 4: View and Share Recordings
- The recording will beautomatically saved to your photo library in the Photos app .
- To see all of your screen recordings in one place, open Photos, tap Albums, then tap Screen Recordings below Media Types.
- You can watch or edit therecording, and then share it on social media or other apps.
Note: Screen recordings may include audio as well as video, although some apps might not allow you to record one or the other. You can't use screen mirroring while recording your screen. If you need to record internal audio, you may need to use a third-party application or computer software to do so.
That's it! You have successfully screen recorded on your iPhone.
Some Useful Tips for Recording

Screen Record With Sound
If you want to record audio on iPhone, you can long press the screen recording icon before starting recording, and then select "Microphone" to enable audio recording.
Record iOS screen with internal sound:
- Long press the Screen Recording button until the Microphone On button shows up.
- Press this to turn the Microphone on.
- And then press the Screen Recording icon.
Privacy Considerations
When recording screens that involve sensitive information, be sure to turn off the microphone or cover sensitive information while editing.
Keep Enough Batteries and Storage
Screen recording may consume more battery and storage space, especially in HD mode. Please check your iPhone battery and available storage before recording.
App Limitation
Some apps may not allow screen recording, or may not include audio when recording, which is a limitation set by the app developer.
Turn on Do Not Disturb and Lock Orientation
For better video recording, you can turn on Do Not Disturb mode to prevent message alerts from affecting your screen recording, and remember to lock the screen to prevent video screen from flipping.
By following the steps above, you can easily do screen recording on your iPhone and use various tricks to optimize your recording experience. Remember to use the iPhone screen recording feature appropriately and respect the privacy and copyright of others.

